Compress Bitmap
The bitmap is used to display an image on ImageView. Sometimes android
developers have to compress a Bitmap object before displaying it on the
ImageView widget. The following android application development tutorial will
demonstrate to us how we can compress a bitmap in an application. We used the
Kotlin programming language to write the code for this tutorial.
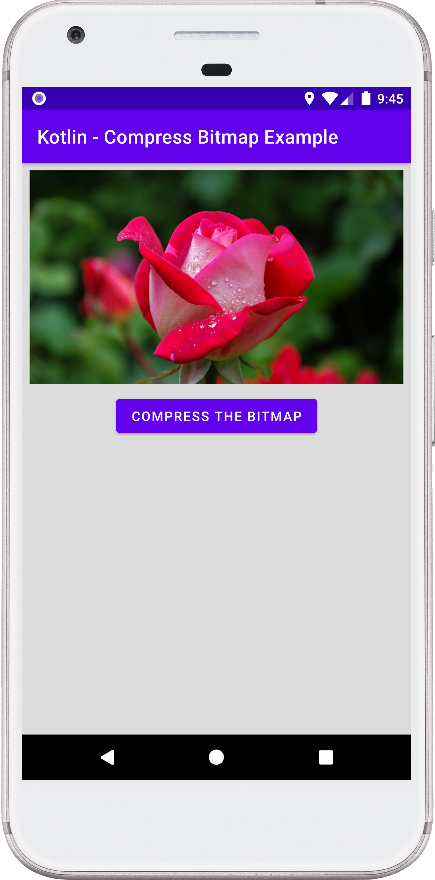
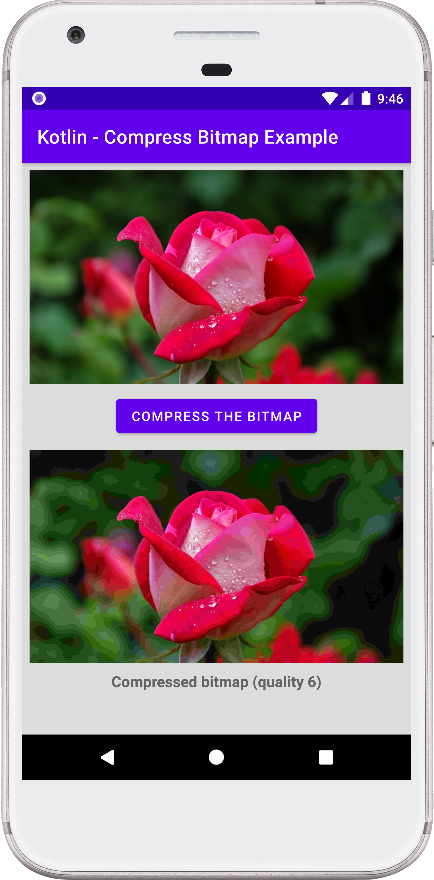
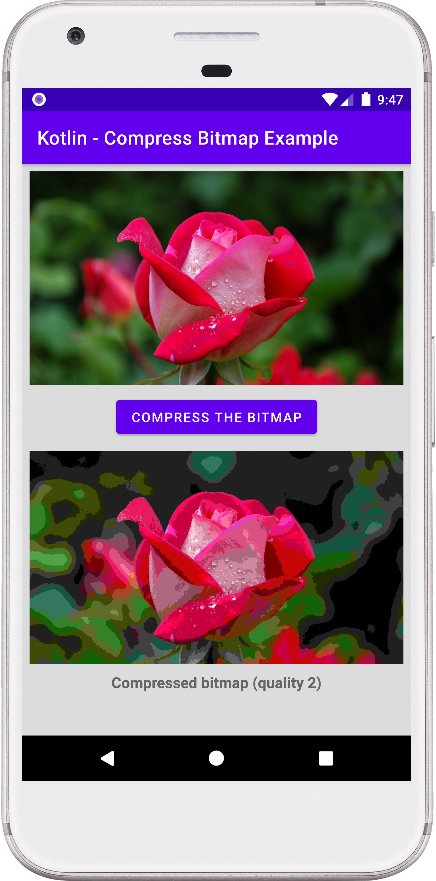
In this tutorial XML layout file, we put two ImageView widgets, a Button widget, and a TextView widget. The first ImageView widget displays the original uncompressed bitmap on its surface. In the Button’s click event, we programmatically compress the bitmap instance. On the second ImageView widget, we displayed the compressed bitmap after applying compression with a specified quality value/percentage. The TextView widget displays the applied compression quality value/percentage on it.
So, how we can compress a bitmap object programmatically using the native android SDK API? To do that first we create a ByteArrayOutputStream instance. The ByteArrayOutputStream implements an output stream in which the data is written into a byte array. The data can be retrieved using the toByteArray() and toString() methods.
Next, we call the Bitmap compress() method. The bitmap compress() method writes a compressed version of the bitmap to the specified outputstream. This method takes three arguments, that are format, quality, and stream. The ‘format’ argument represents the format of the compressed bitmap. We can set this argument value using CompressFormat enum values. The available formats are JPEG, PNG, WEBP, WEBP_LOSSLESS, and WEBP_LOSSY.
The ‘quality’ argument is an int value that range is 0 to 100. This defines the compression quality. We can call it the percentage of compression quality. And the ‘stream’ is the outputstream to write the compressed data. The compress() method returns true if it is successfully compressed to the specified stream. Finally, we get the compressed bitmap using the BitmapFactory API.
This android kotlin tutorial code is written in an android studio IDE. Copy the code and paste it into your android studio IDE and run it on an emulator to see how we can compress a bitmap programmatically in an android application. We displayed screenshots of the emulator screen, which also help you to understand the code without running it on an android device or emulator.
MainActivity.kt
package com.cfsuman.kotlintutorials

import android.graphics.Bitmap
import android.graphics.BitmapFactory
import android.graphics.drawable.BitmapDrawable
import android.os.Bundle
import android.widget.Button
import android.widget.ImageView
import android.widget.TextView
import androidx.appcompat.app.AppCompatActivity
import androidx.core.content.ContextCompat
import java.io.ByteArrayOutputStream
import kotlin.random.Random


class MainActivity : AppCompatActivity() {
    override fun onCreate(savedInstanceState: Bundle?) {
        super.onCreate(savedInstanceState)
        setContentView(R.layout.activity_main)

        // Get the widgets reference from XML layout
        val button = findViewById<Button>(R.id.button)
        val ivCompressed = findViewById<ImageView>(R.id.ivCompressed)
        val textView = findViewById<TextView>(R.id.textView)

        // Get the bitmap from given drawable object
        val drawable = ContextCompat.getDrawable(
            applicationContext,R.drawable.rose)
        val bitmap = (drawable as BitmapDrawable).bitmap

        // Click listener for button widget
        button.setOnClickListener{
            val quality = Random.nextInt(2,10)

            // Compress bitmap and display into image view
            ivCompressed.setImageBitmap(
                compressBitmap(bitmap,quality)
            )
            textView.text = "Compressed bitmap (quality $quality)"
        }
    }


    // Method to compress a bitmap
    private fun compressBitmap(bitmap: Bitmap, quality:Int):Bitmap{
        // Initialize a new ByteArrayStream
        val stream = ByteArrayOutputStream()

        // Compress the bitmap with JPEG format and specified quality
        bitmap.compress(
            Bitmap.CompressFormat.JPEG, quality, stream
        )

        val byteArray = stream.toByteArray()

        // Finally, return the compressed bitmap
        return BitmapFactory.decodeByteArray(
            byteArray, 0, byteArray.size
        )
    }
}
activity_main.xml
<?xml version="1.0" encoding="utf-8"?>
<androidx.constraintlayout.widget.ConstraintLayout
    xmlns:android="http://schemas.android.com/apk/res/android"
    xmlns:app="http://schemas.android.com/apk/res-auto"
    android:layout_width="match_parent"
    android:layout_height="match_parent"
    android:id="@+id/rootLayout"
    android:background="#DCDCDC"
    android:padding="8dp">

    <ImageView
        android:id="@+id/ivSource"
        android:layout_width="match_parent"
        android:layout_height="225dp"
        android:src="@drawable/rose"
        android:scaleType="centerCrop"
        app:layout_constraintTop_toTopOf="parent" />

    <Button
        android:id="@+id/button"
        android:layout_width="wrap_content"
        android:layout_height="wrap_content"
        android:layout_gravity="center_horizontal"
        android:layout_margin="10dp"
        android:layout_marginTop="12dp"
        android:text="Compress The Bitmap"
        app:layout_constraintEnd_toEndOf="parent"
        app:layout_constraintStart_toStartOf="parent"
        app:layout_constraintTop_toBottomOf="@+id/ivSource" />

    <ImageView
        android:id="@+id/ivCompressed"
        android:layout_width="match_parent"
        android:layout_height="225dp"
        android:layout_marginTop="12dp"
        android:scaleType="centerCrop"
        app:layout_constraintEnd_toEndOf="parent"
        app:layout_constraintStart_toStartOf="parent"
        app:layout_constraintTop_toBottomOf="@+id/button" />

    <TextView
        android:id="@+id/textView"
        android:layout_width="wrap_content"
        android:layout_height="wrap_content"
        android:layout_marginTop="8dp"
        android:fontFamily="sans-serif"
        android:textSize="16sp"
        android:textStyle="bold"
        app:layout_constraintEnd_toEndOf="parent"
        app:layout_constraintStart_toStartOf="parent"
        app:layout_constraintTop_toBottomOf="@+id/ivCompressed" />

</androidx.constraintlayout.widget.ConstraintLayout>