Set ImageView Width & Height Programmatically
ImageView widget allows us to display an image object to the android app user interface. We can add an ImageView element to the app interface by putting an ImageView tag inside the XML layout file. Then we can define the image source of the ImageView widget. We also can set the ImageView width and height in the XML layout file using ImageView layout width and height attributes. This is an easy task.
But sometimes android app developers need to change the Imageview size (height and width) using their java or kotlin scripting file. This is called programmatically changing ImageView height and width in an android application. This android app development tutorial demonstrates to you how can we change the ImageView width and height dynamically in an android application.
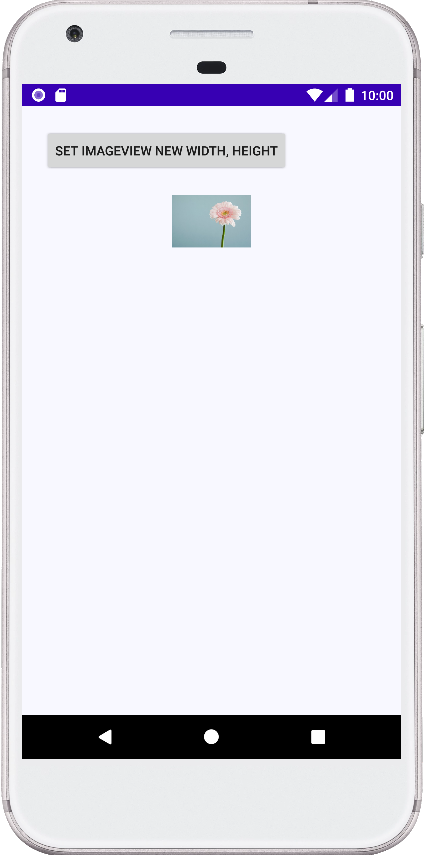
To do that, at first we will put an ImageView widget to our XML layout file. We will wrap our ImageView widget with a constraint layout. We will also add a Button widget to the XML layout file. This Button widget’s click event will dynamically change the ImageView width and height.
Inside the Button click event, we will define the ImageView new width and height. Then we call ImageView requestLayout() method to invalidate the layout. Then, we will call ImageView getLayoutParams() method and apply the new width and height of it. Finally, we will specify the ImageView image scale type, so that the image will display perfectly inside the ImageView widget.
activity_main.xml
<?xml version="1.0" encoding="utf-8"?>
<androidx.constraintlayout.widget.ConstraintLayout
    xmlns:android="http://schemas.android.com/apk/res/android"
    xmlns:app="http://schemas.android.com/apk/res-auto"
    xmlns:tools="http://schemas.android.com/tools"
    android:layout_width="match_parent"
    android:layout_height="match_parent"
    android:padding="24dp"
    tools:context=".MainActivity"
    android:background="#F8F8FF">

    <Button
        android:id="@+id/btn"
        android:layout_width="wrap_content"
        android:layout_height="wrap_content"
        android:text="Set ImageView New Width, Height"
        app:layout_constraintStart_toStartOf="parent"
        app:layout_constraintTop_toTopOf="parent" />

    <ImageView
        android:id="@+id/iv"
        android:layout_width="match_parent"
        android:layout_height="wrap_content"
        android:layout_marginTop="24dp"
        android:src="@drawable/flower"
        android:background="#DCDCDC"
        app:layout_constraintEnd_toEndOf="parent"
        app:layout_constraintStart_toStartOf="parent"
        app:layout_constraintTop_toBottomOf="@+id/btn" />

</androidx.constraintlayout.widget.ConstraintLayout>
MainActivity.java
package com.cfsuman.androidtutorials;

import android.app.Activity;
import android.os.Bundle;
import android.widget.Button;
import android.widget.ImageView;


public class MainActivity extends Activity {
        private ImageView mImageView;

        @Override
        protected void onCreate(Bundle savedInstanceState) {
                super.onCreate(savedInstanceState);
                setContentView(R.layout.activity_main);

                // Get the widgets reference from XML layout
                mImageView = (ImageView) findViewById(R.id.iv);
                Button mBTN = (Button) findViewById(R.id.btn);


                // Set a click listener for Button widget
                mBTN.setOnClickListener(view -> {
                        int newHeight = 200; // New height in pixels
                        int newWidth = 300; // New width in pixels

                        /*
                            requestLayout()
                                Call this when something has changed which has
                                invalidated the layout of this view.
                        */
                        mImageView.requestLayout();

                        /*
                            getLayoutParams()
                                Get the LayoutParams associated with this view.
                        */

                        // Apply the new height for ImageView programmatically
                        mImageView.getLayoutParams().height = newHeight;

                        // Apply the new width for ImageView programmatically
                        mImageView.getLayoutParams().width = newWidth;

                        // Set the scale type for ImageView image scaling
                        mImageView.setScaleType(ImageView.ScaleType.FIT_XY);
                });
        }
}