Create An ImageView Programmatically
The ImageView element displays an image to its visible area. Android app developers can simply add an ImageView tag and available attributes to their XML layout file to show an ImageView to the android app user interface. In this XML layout file, they can set the ImageView image source by using its src attribute. This is a simple job.
But sometimes, android app developers want to add an ImageView widget programmatically to their android application. So they have to write a few lines of code to their java or kotlin programming file to achieve this. This android app development tutorial will demonstrate to us how can we add an ImageView widget to our android application dynamically and set an image source to display it.
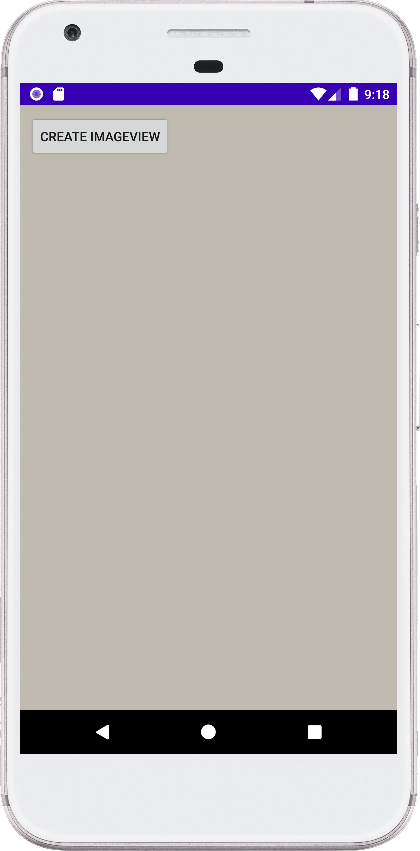
Though the following code snippets are very clear to understand the full scenario, we will describe here the code. To add an ImageView programmatically to the layout we first add a relative layout in the XML layout file. Then we will put a Button widget inside it. On the Button click event, we will add the ImageView inside the relative layout programmatically.
Inside the Button click event, we will call ImageView() method to create an instance of a new ImageView widget. Then we will call Imageview setImageDrawable() method to add a drawable image source to the ImageView widget.
After that, we will create a LayoutParams object to define the newly created ImageView layout parameters such as width and height. In this layout parameters object, we will add a rule to put ImageView widget below of Button widget inside the relative layout. Then we will apply this layout parameters object to the ImageView widget.
Finally, we add the newly created ImageView object to the relative layout using the addView() method. Now our android app will create an ImageView programmatically on the Button click event and display an image on it.
activity_main.xml
<RelativeLayout
    xmlns:android="http://schemas.android.com/apk/res/android"
    xmlns:tools="http://schemas.android.com/tools"
    android:id="@+id/rl"
    android:layout_width="match_parent"
    android:layout_height="match_parent"
    android:padding="10dp"
    tools:context=".MainActivity"
    android:background="#bfbbb1"
    >
    <Button
        android:id="@+id/btn"
        android:layout_width="wrap_content"
        android:layout_height="wrap_content"
        android:text="Create ImageView"
        />
</RelativeLayout>
MainActivity.java
package com.cfsuman.androidtutorials;

import android.os.Bundle;
import android.app.Activity;
import android.widget.Button;
import android.widget.ImageView;
import android.widget.RelativeLayout;
import android.widget.RelativeLayout.LayoutParams;
import androidx.core.content.ContextCompat;


public class MainActivity extends Activity {

    @Override
    protected void onCreate(Bundle savedInstanceState) {
        super.onCreate(savedInstanceState);
        setContentView(R.layout.activity_main);

        // Get the context
        MainActivity context = this;

        // Get the widgets reference from XML layout
        final RelativeLayout rl = (RelativeLayout) findViewById(R.id.rl);
        final Button btn = (Button) findViewById(R.id.btn);

        btn.setOnClickListener(view -> {
            // Initialize a new ImageView widget
            ImageView iv = new ImageView(getApplicationContext());

            // Set an image for ImageView
            iv.setImageDrawable(
                    ContextCompat.getDrawable(
                            context,
                            R.drawable.flower_small
                    )
            );

            // Create layout parameters for ImageView
            LayoutParams lp = new LayoutParams(
                    LayoutParams.WRAP_CONTENT,
                    LayoutParams.WRAP_CONTENT
            );

            // Add rule to layout parameters
            // Add the ImageView below to Button
            lp.addRule(RelativeLayout.BELOW, btn.getId());

            // Add layout parameters to ImageView
            iv.setLayoutParams(lp);

            // Finally, add the ImageView to layout
            rl.addView(iv);
        });
    }
}