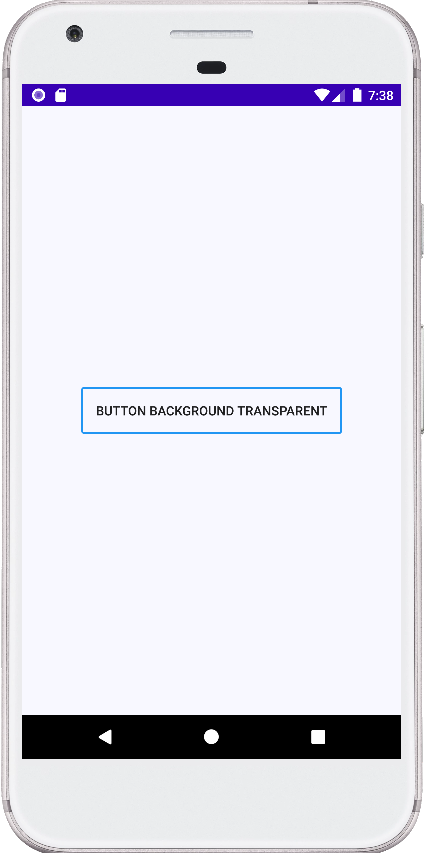
Button transparent background with border
In some situations, android developers want to put a transparent background button in their app interface. Totally transparent background colored button can’t define the clicked area. So transparent button should have an opaque border color. It will render a solid color bordered button with a transparent background colored button widget.
This android app development tutorial will show, how can an android developer render a transparent background color button with an opaque colored border.
To achieve this widget, first, we put a Button widget in our XML layout file. Inside the Button tag, we have to put a property name background. The background property has a value that points to a drawable XML file.
The main code is located in this XML drawable file. It has a selector with an item. The item defines the button shape and background color. Simply we can put a solid white color here whose opacity is zero/full transparent. Also here we add a stroke with color and width values. The border color must be fully opaque so the button can specify its area.
Transparent background colored button with an opaque bordered button is a very important feature for an android app. But it is very easy to implement. The following code snippets and output image will help you to understand the full logic.
activity_main.xml code snippet
<?xml version="1.0" encoding="utf-8"?>
<androidx.constraintlayout.widget.ConstraintLayout
    xmlns:android="http://schemas.android.com/apk/res/android"
    xmlns:app="http://schemas.android.com/apk/res-auto"
    android:layout_width="match_parent"
    android:layout_height="match_parent"
    android:background="#F8F8FF">

    <Button
        android:id="@+id/push_button"
        android:layout_width="wrap_content"
        android:layout_height="wrap_content"
        android:background="@drawable/button_bg_transparent"
        android:padding="16dp"
        android:text="Button Background Transparent"
        android:elevation="8dp"
        app:layout_constraintBottom_toBottomOf="parent"
        app:layout_constraintEnd_toEndOf="parent"
        app:layout_constraintStart_toStartOf="parent"
        app:layout_constraintTop_toTopOf="parent" />

</androidx.constraintlayout.widget.ConstraintLayout>
res/drawable/button_bg_transparent.xml
<?xml version="1.0" encoding="utf-8"?>
<selector
    xmlns:android="http://schemas.android.com/apk/res/android">
    <!--button pressed state background color-->
    <item android:state_pressed="true">
        <shape android:shape="rectangle">
            <!--apply button background transparent, full opacity-->
            <solid android:color="#00ffffff"/>
            <!--make button border solid color, nontransparent-->
            <stroke android:color="#2196F3" android:width="2dp"/>
            <corners android:radius="2dp"/>
        </shape>
    </item>

    <!--button default background color-->
    <item>
        <shape android:shape="rectangle">
            <!--apply button background transparent, full opacity-->
            <solid android:color="#00ffffff"/>
            <!--make button border solid color, nontransparent-->
            <stroke android:color="#3F51B5" android:width="2dp"/>
            <corners android:radius="2dp"/>
        </shape>
    </item>
</selector>

